


Sometimes, it's nice to be someone else for a change
Recently wed? Recently divorced? Recently on the run from a dangerous cartel? We've all been there before. Whatever your reasons you have for changing your name on Facebook, we're here to help you figure out how.
There are a number of ways you can change your name on Facebook, including via the app or desktop site. However, we're going to focus on the fastest way of changing your name on Facebook with the least amount of navigation possible.
Let's get to it with our guide on how to change your name on Facebook.
1. Open the Accounts Center
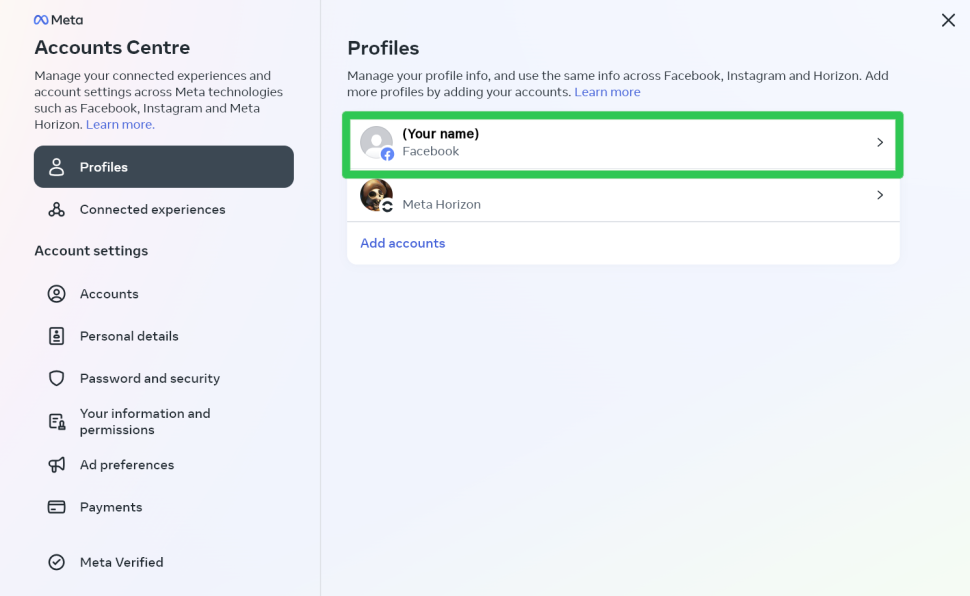
Once there, log in to your Facebook account, and on the panel to the right, select your Facebook profile.
2. Choose what to edit

Select "Name"
3. Enter your new name

Enter the name you want others to see you by, double-check for typos (as you wont be allowed to change your name for 60 days,) and click the "Review Change" button at the bottom of the pop-up.
4. Preview your new name
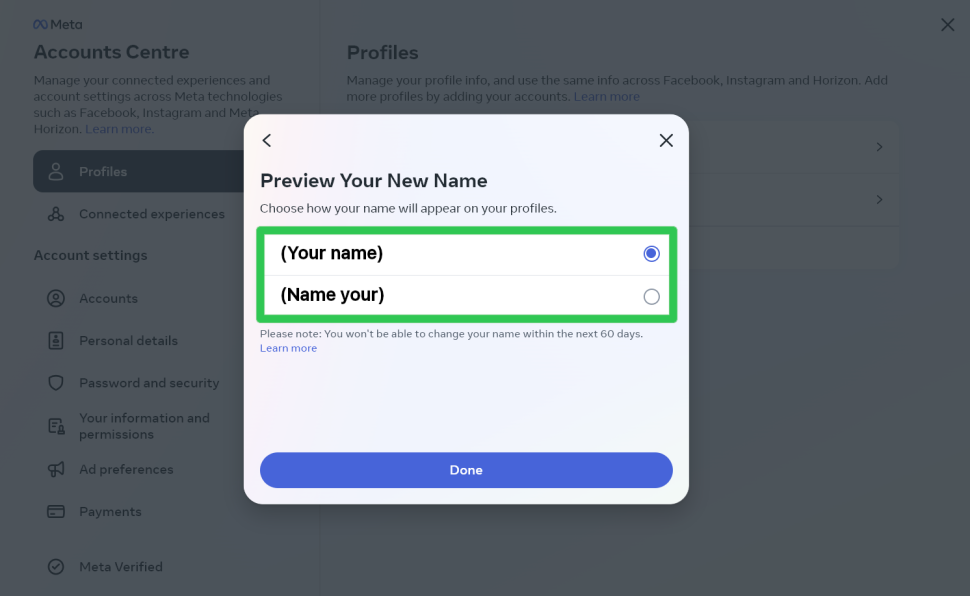
Once you've decided, click "Done" and you're all set!
Your name should now be updated (you may need to re-enter your password as confirmation), and the changes should be visible instantly! Remember, now you've changed your name, you'll be locked in to using this name for 60 days before you can change it again. So, make sure you're not doing something too hasty.


No comments:
Post a Comment
Comment